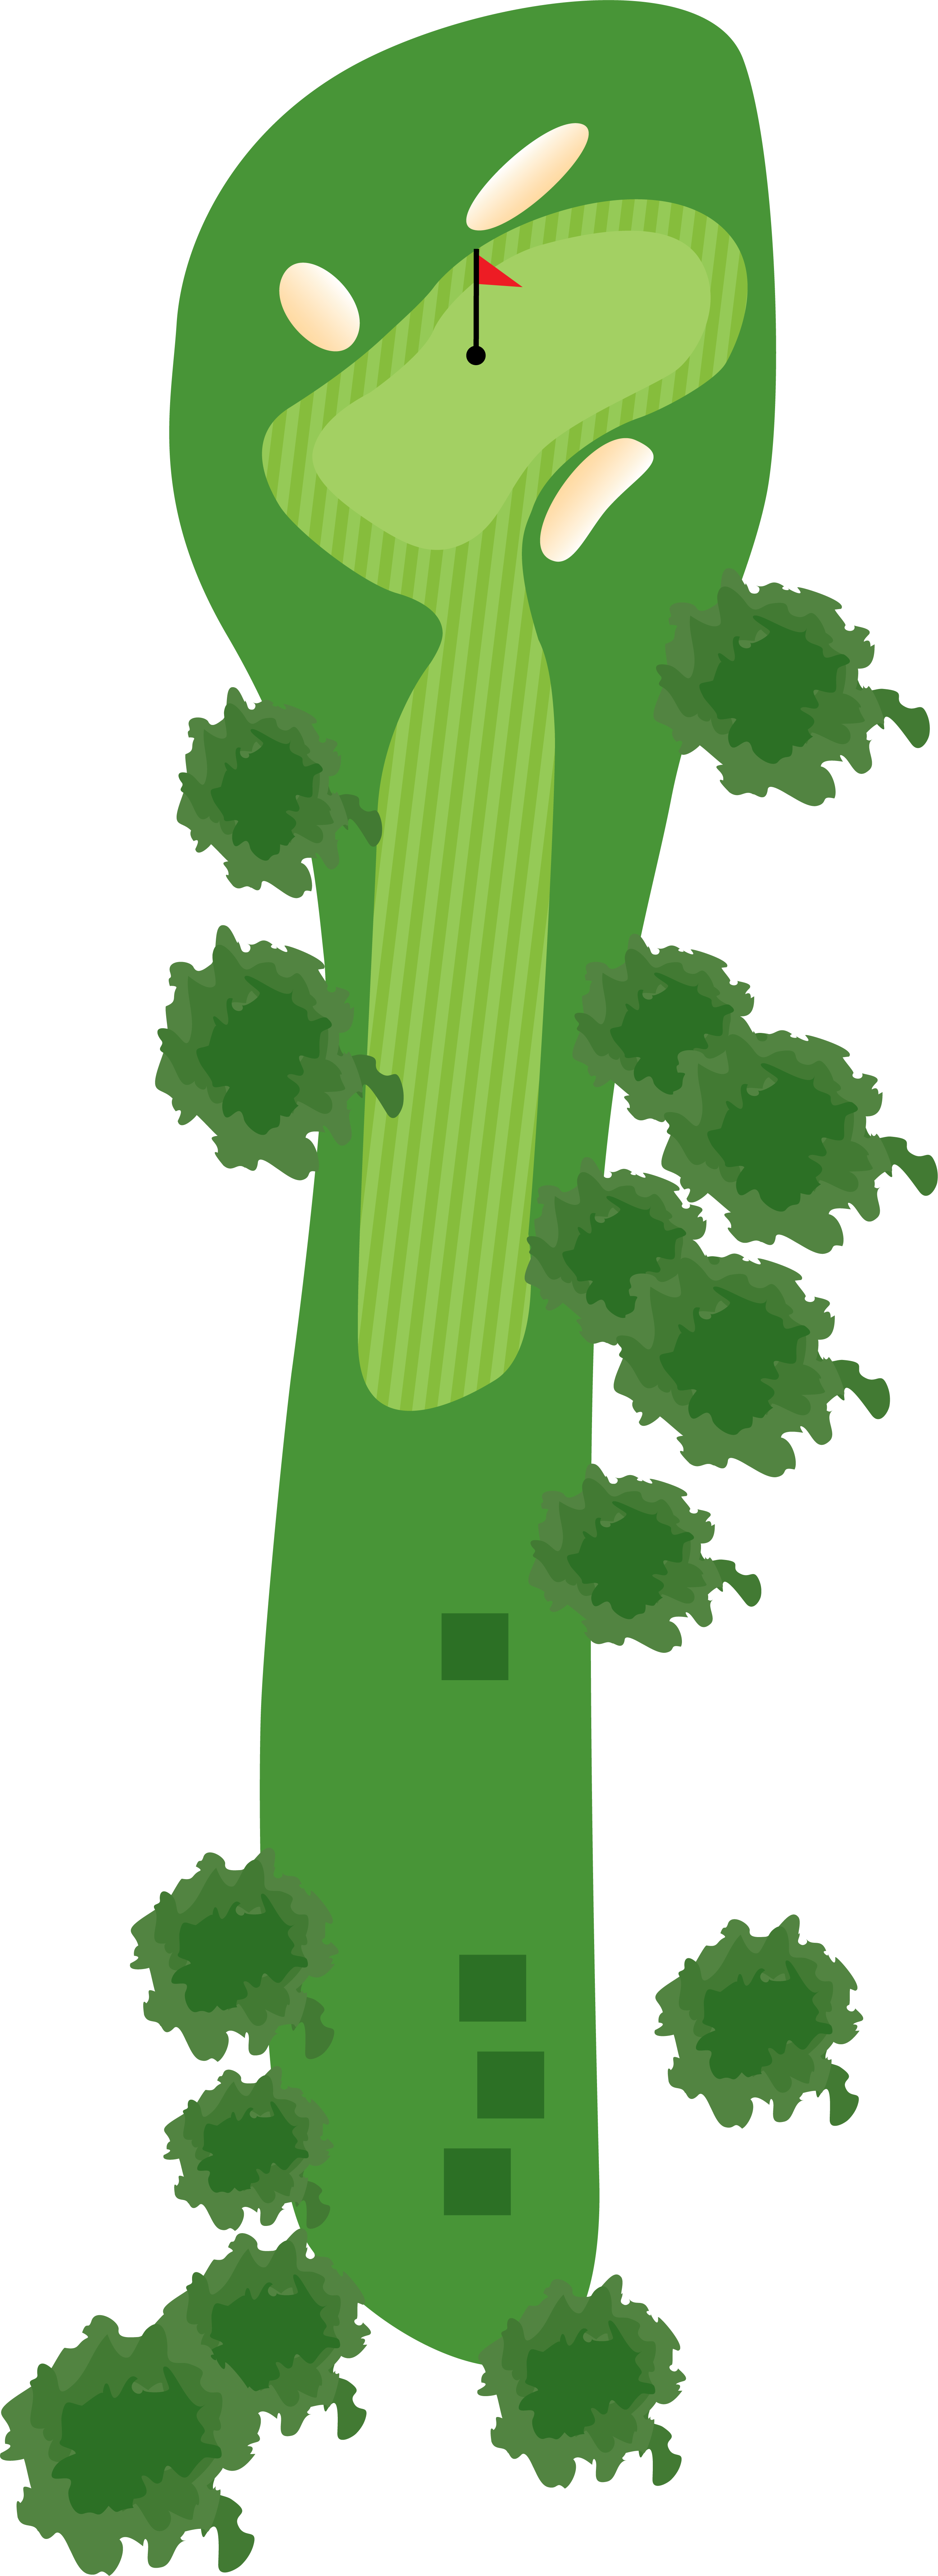
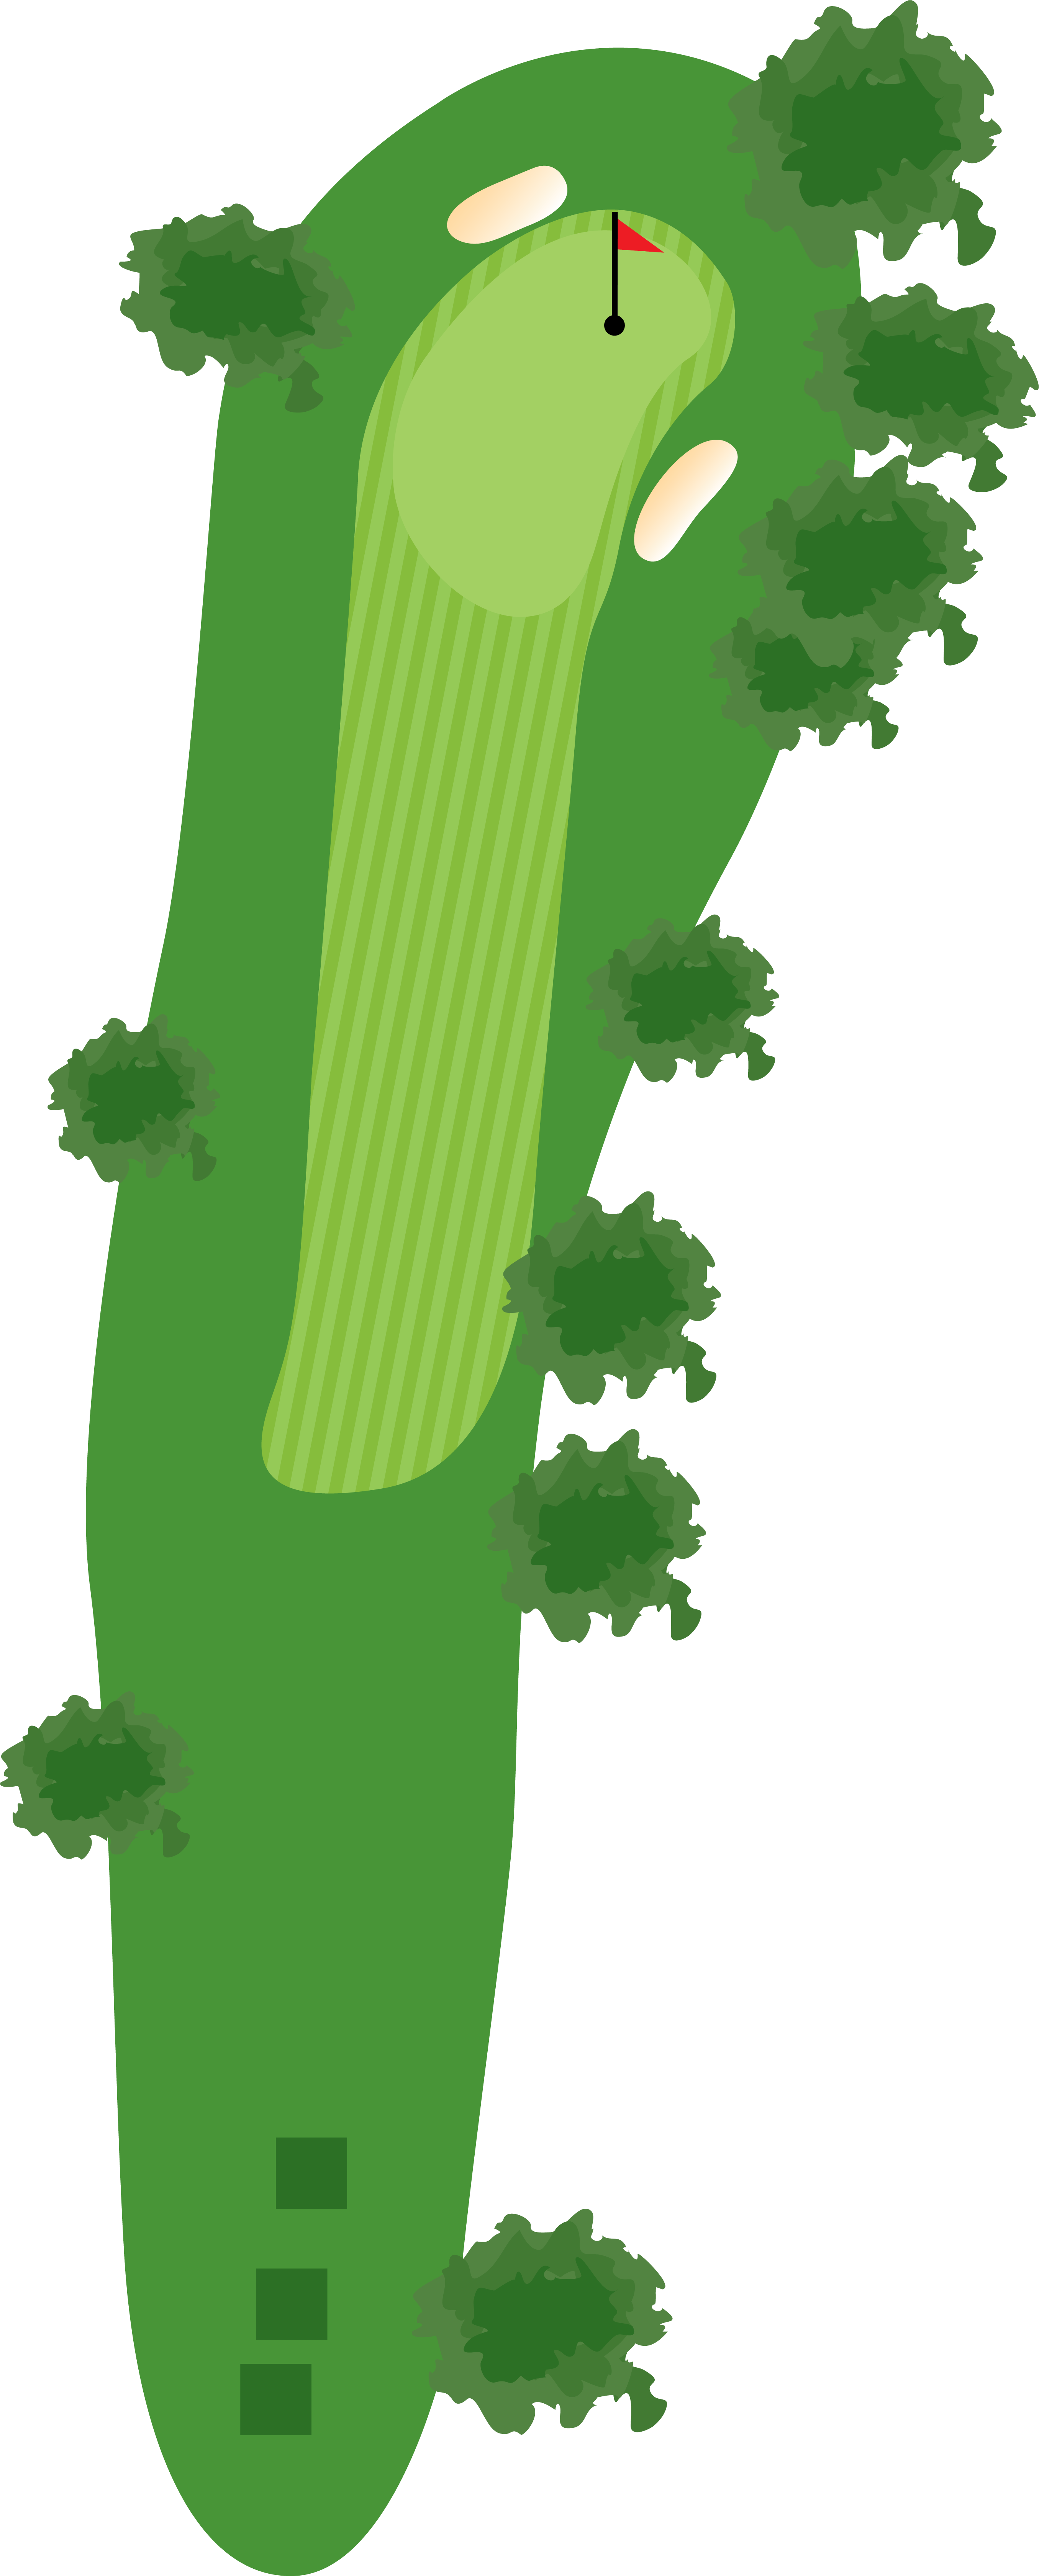
Virtual Course Tour: Use the interactive map below to view the City Course from above. Hover or click on individual holes to view stats and other information.
*For the best experience, use the interactive map on a desktop or tablet.
Hole 1
Par 5
This short par 5 calls for a strategic tee shot. Long hitters may want to chance an attempt over the hazard, though doing so requires roughly a 280 yard carry. A safer route is to lay up about 215 yards on the right side of the fairway so as to have a clearer shot to the green.

Hole 2
Par 4
The first par 4 asks golfers to consider their tee shot club. The shorter length rewards a well-struck hybrid or fairway wood, but tempts long hitters whose driving accuracy can place their second shot within 100 yards. The left side of the fairway is the target for an unobstructed approach.

Hole 3
Par 4
This simple approach to the green masks a challenge. A wide fairway lets players enjoy a riskier tee shot, but the heavily undulated green requires accuracy on the approach. Golfers who enjoy strategically placed approach iron shots will find themselves rewarded on this hole.

Hole 4
Par 5
Four is perhaps the toughest of the par 5s. Though still shorter, the narrow tee shot may cause the driver to stay in the bag so as to avoid the trees along the right side of the fairway. A tee shot placed along the left side of the fairway to 220 yards from the green puts players in a position to reach the green in two.

Hole 5
Par 3
The first of the par 3s masks its difficulty with the surrounding trees. Slightly uphill and predominantly facing the wind, this hole typically plays longer than the distance reads. Tee shot distance is the importance here as the depth of the green is not very deep.

Hole 6
Par 4
Six is the number one handicap hole and challenges each aspect of play. Long hitters can be rewarded cutting the hard dogleg left, while average distance players must choose between a safe shot in the fairway, or an attempt to shape the ball around the corner. The green slopes heavily right to left so the key here is to leave yourself near the left side for an uphill putt.

Hole 7
Par 3
The difficulty of seven is the size of the green. Slightly uphill plays longer than usual, and the various undulations require golfers to consider shot placement that allows for an easier putt to the hole.

Hole 8
Par 4
One of the signature holes on the course, this short par 4 offers challenges from the tee to green. A shot left of the fairway obstructs the approach, while a long drive may roll into the hazard. A fairway wood or hybrid off the tee will allow the golfer a straight approach into one of the largest greens on the course. Pin placement is key as a back pin may play a club longer than what distance reads.

Hole 9
Par 4
One of the longest par 4s, hole nine is uphill and predominantly into the wind. The tee shot is best played straight off the tee to the left side of the fairway that puts a confident club in hand for the next shot. Nine's green is smaller than normal and the approach should depend on the pin, with front pins dictating a below-the-hole ball, and back pin approaches are played best at the middle of the green.

Hole 10
Par 4
Hole 10 is a fun start to the back nine. This short par 4 is best played with a 180 yard club straight off the tee so that the ball will roll down the hill and leave the approach less than 100 yards. Driver is an option for long hitters who want to risk the creek on the left and right side of the green.

Hole 11
Par 4
This long par 4 requires attention to wind. An accurate tee shot at the right side of the fairway will cut distance on the approach, though a safer shot to the high side of the fairway on the left leaves less room for error. The approach club should be long enough to reach the green as elevation and wind add greater than perceived distance.

Hole 12
Par 4
The short par 4 requires a drive in the fairway for an easy chance to hit the green. Missing right can leave you in the creek or the trees, where as left is out of bounds. The green slopes heavily from back to front, so being below-the-hole is key here for an uphill putt.

Hole 13
Par 3
Any shot to the left will make par almost impossible. Thirteen is the shortest of the par 3s, so a well-placed tee shot often rewards a birdie.

Hole 14
Par 4
Tee placement is key to this short, hard dogleg right. Long hitters may cut the corner, but anything right of the dogleg is hazard. Strategic play calls for a hybrid or soft fairway wood straight off the tee, leaving less than 150 yards into the green.

Hole 15
Par 5
Another marquee hole of the course, fifteen is the longest but widest of the par 5s. A well-struck tee shot to the right of the fairway leaves the chance for an open third shot into a short undulated green. However, a cautious tee shot is required to avoid the reachable pond on the right side of the fairway.

Hole 16
Par 3
The second signature hole, sixteen, is a long uphill par 3 with a wide green sloped heavily toward the hazard. The green is guarded by water and bunkers on all sides. Distance is crucial; the tee shot must factor in both elevation and wind to ensure proper length.

Hole 17
Par 4
This dogleg left is one of the longer par 4s due to its vulnerability to wind. A straight tee shot may place long hitters through the fairway, while the average golfer should consider a shot middle left of the fairway so as to shave distance off the approach.

Hole 18
Par 5
The finishing hole uses elevation and hazard to challenge players. A long tee shot may find its way to the water, so a lay up to 230 yards on the left side of the fairway offers an unobstructed heavily uphill approach. Players should pay attention to wind, as well as decide if a two or three shot approach is the best plan.

